NEW! Host groups can be set up for specific events. You can then alert event hosts when people have arrived for the event. Find out how with this guide.
Turn on the event host notification #
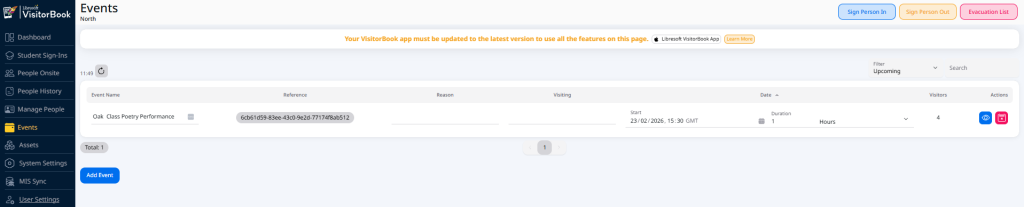
- Go to the Events page.
- Find your specific event.
- Go to the Actions column.
- Click the View icon. The page for the specific event opens.
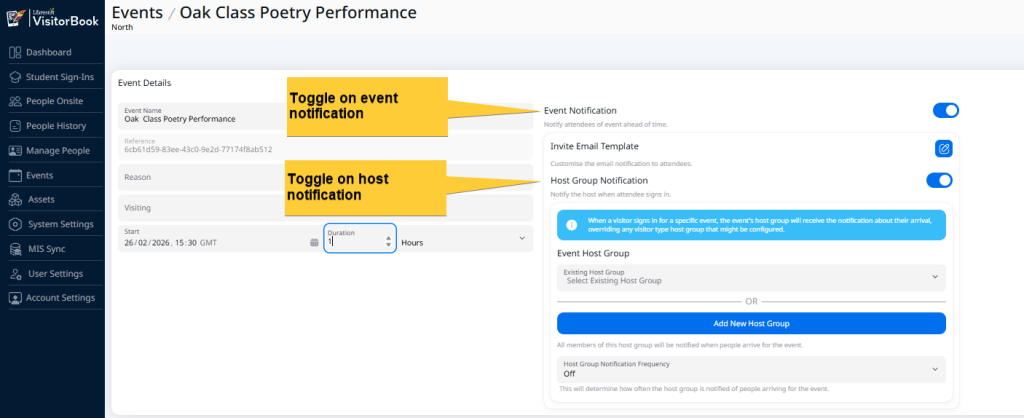
- Go to the Event Notification section. It is faded out until it is turned on.
- Toggle on Event Notification.
- Toggle on Host Group Notification.

Choose an event host group #
You have two options. You can choose an existing host group. Or you can set up a completely new host group. The differences are shown in the table below.
| Existing Host Group | New Host Group |
| Already set up for at least one visitor type. View and edit on the Notifications page. Hosts are notified when event attendees and any visitors matching the set visitor type sign in. | Specific to the event. View and edit on the specific events page. Cannot be seen on the Notifications page. Hosts are notified only when attendees for the specific event sign in. |
To choose an existing host group:
- In the Event Notification section, go to the Event Host Group section.
- In the Existing Host Group field, choose a host group from the dropdown.

To set up a specific host group for the event:
- In the Event Notification section, go to the Event Host Group section.
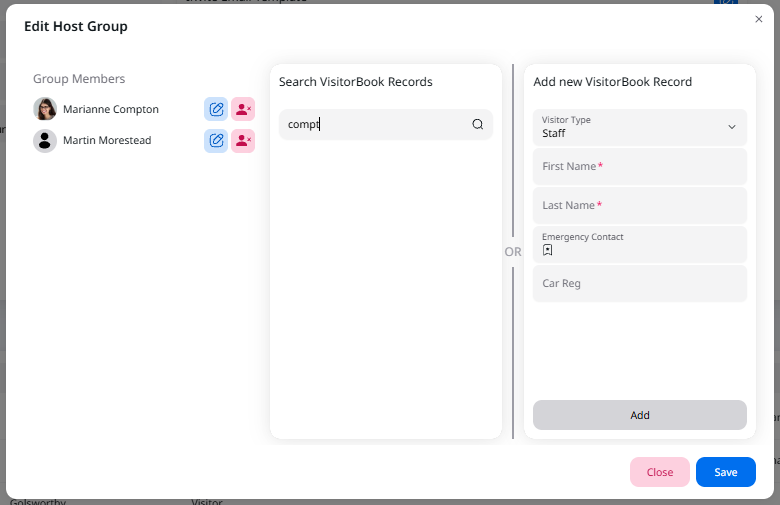
- Click on the Add New Host Group button. The Edit Host Group popup opens.
- Add group members. To do this, you can search existing VisitorBook records or add a new VisitorBook record.
- When you have finished adding host group members, click the Save button.
- You have created a host group!
Tip: Host groups can contain a single member or multiple members.
Important:
- Host group members must have an email address in their record to receive host group notifications. The system alerts you if you add a host group member who does not have an email address.
- You cannot add a student visitor type to a host group.
© Libresoft 2026