There are two steps to creating timelines: adding a timeline and adding steps to the timeline.
Add a timeline #
To add a new timeline:
- Log into your VisitorBook Admin Portal.
- Go to User Settings > Timelines. The Timelines page opens.
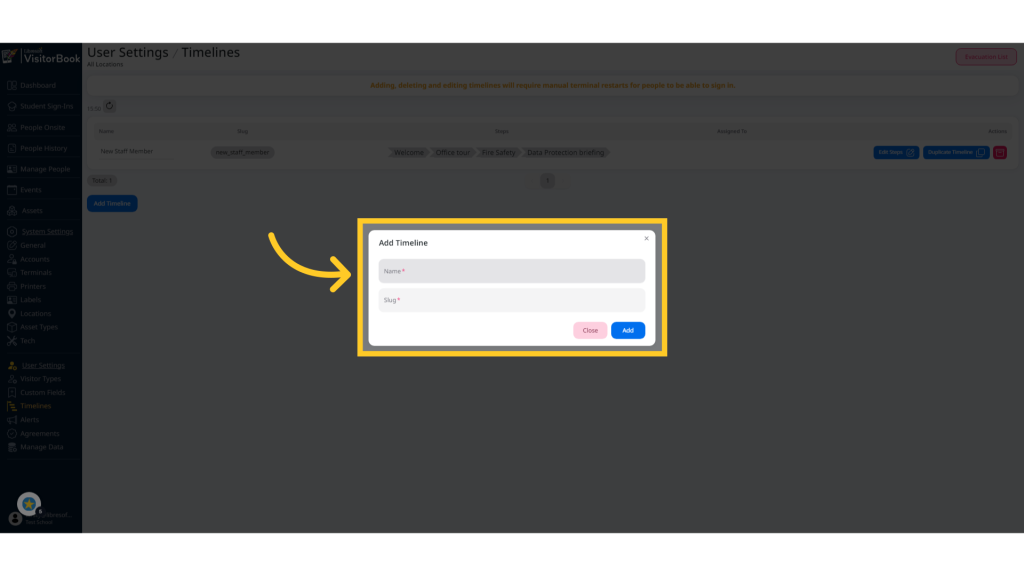
- Click the Add Timeline button.
- The Add Timeline popup opens.
- Type in the Name of the timeline. The slug auto-populates as you type.
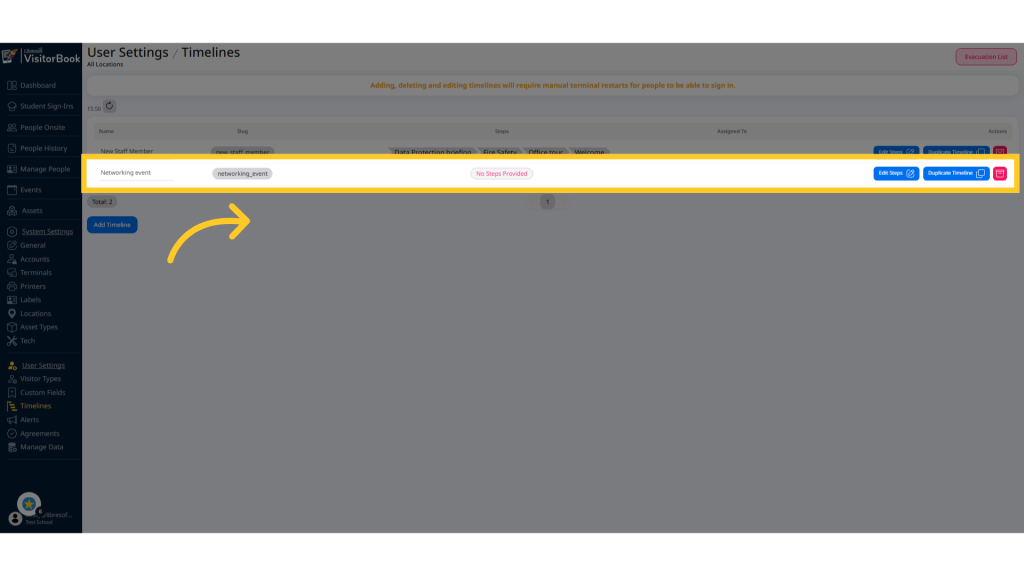
- Click the Add button. The new timeline is added without timeline steps.
Add steps to a timeline #
To add timeline steps:
- Next to the new timeline you have created, click the Edit Steps button.
- The Timelines page opens for the specific timeline. This page is blank initially.
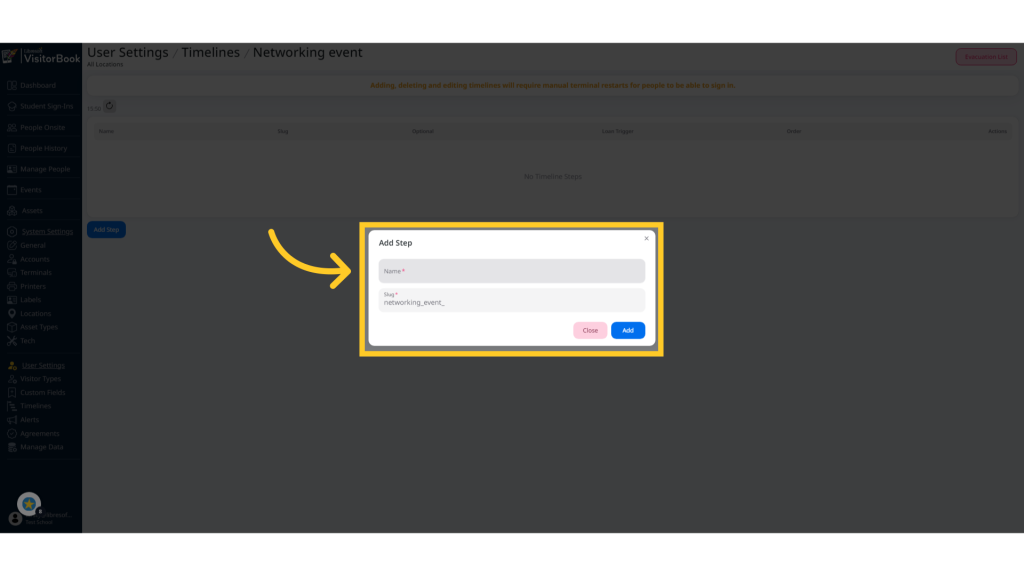
- Click the Add Step button.
- The Add Step popup opens.
- Type a name for the step.As before, the slug auto-populates.
- Click the Add button.
- The step is added to the page. Continue until you have added all the required steps.
Tips:
- Timeline steps should be clear and concise.
- Want timelines with similar steps? Save time by clicking the Duplicate Timeline button.
- Slugs are auto-generated and used for API functionality (communication between software programmes).
Note: Some of the images below show optional modules. These may not be present on your VisitorBook system.
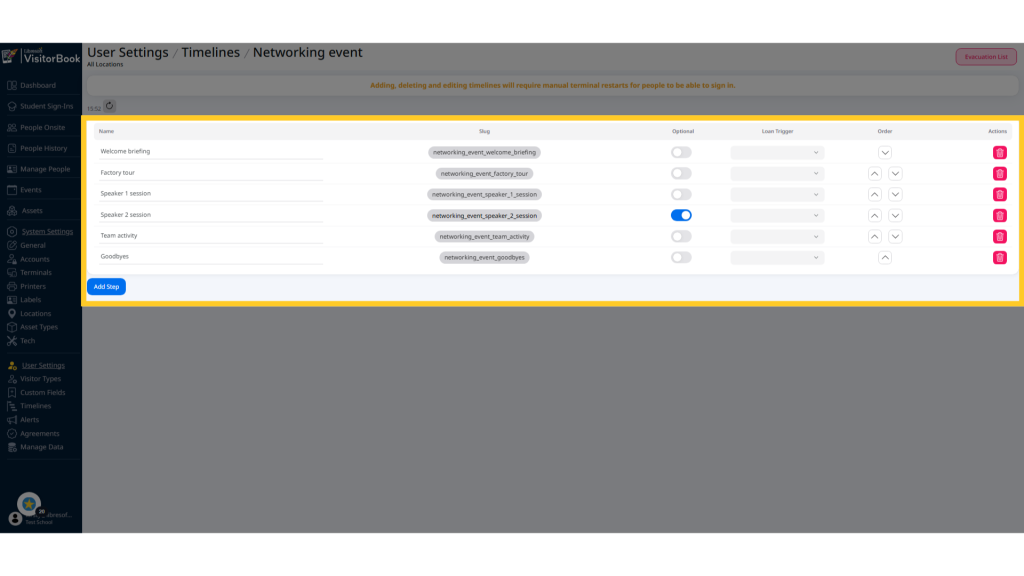
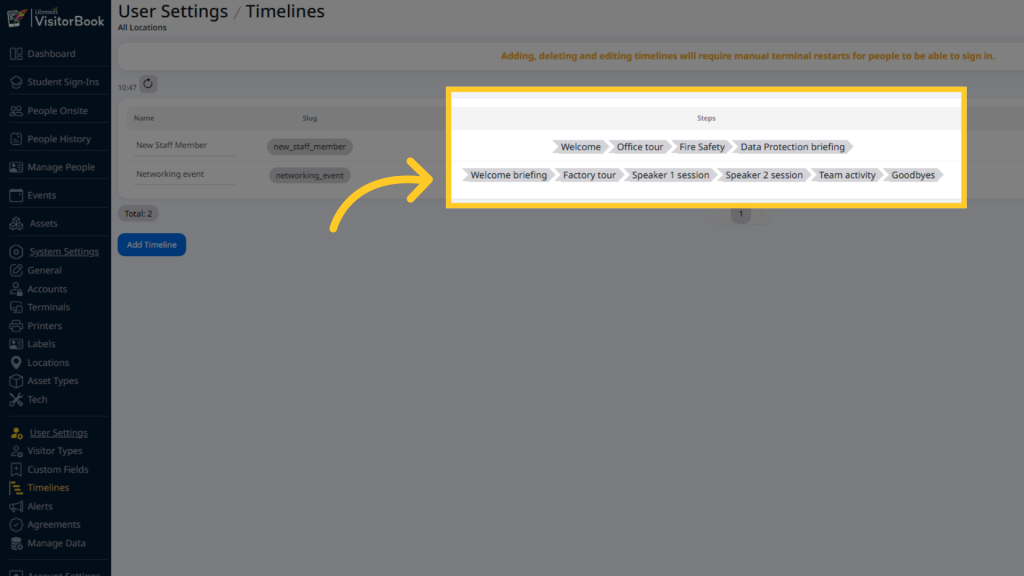
Go back to the User Settings > Timelines page to see the assigned steps.
Ensure timeline appears on VisitorBook app #
Timelines also appear on the app on a Staff Terminal to manage visitor timelines.
Important: You must close and restart the VisitorBook app on all staff terminals to display the new timeline in the app.
© Libresoft 2026