Manage the different groups of people who sign into Libresoft VisitorBook with visitor types. These are displayed on the VisitorBook app when people sign in and are easy to set up.
Important:
- VisitorBook comes with the standard visitor types of Visitor and Staff. These standard visitor types cannot be deleted from the system.
- The Student Sign-In module is an optional module that is automatically activated for educational settings. If you have this module, you’ll also see the Student visitor type. Again, this is standard and cannot be removed.
Show me how #
The video below gives a quick overview of adding visitor types.
Benefit of adding different visitor types #
The benefits of adding different visitor types are:
- Smoother sign-in for regular visitors. For example, school governors or contractors.
- QR code use flexibility. When visitors sign in, the printed visitor label includes a QR code. Visitors use this to quickly sign out. However, QR codes can also potentially be used to sign in again in the future, making the process even more speedy. You can specify how these QR codes are used for different visitors. For example, you can set the system so QR codes can only be used once or re-used indefinitely.
- Customisable sign-in requirements for different visitor types. You have options for setting different sign-in fields for different types of visitor.
Steps needed #
If you’d like more visitor types than the standard ones already available, adding visitor types to your VisitorBook system is straightforward. You’ll need to do the following:
- Add a visitor type to the Admin Portal.
- Restart the VisitorBook app on the sign-in terminal.
Both steps are described below.
Add new visitor type to Admin Portal #
If you’d like to add a different visitor type for regular visitors, this is easily done on the Admin Portal.
- Log into your Admin Portal.
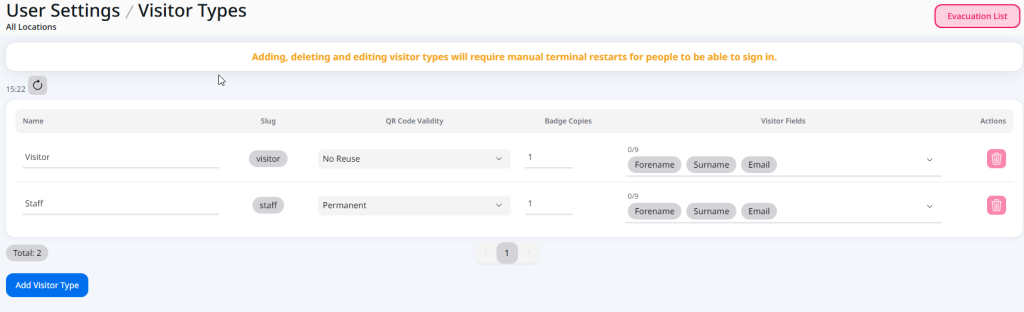
- Go to User Settings > Visitor Types.
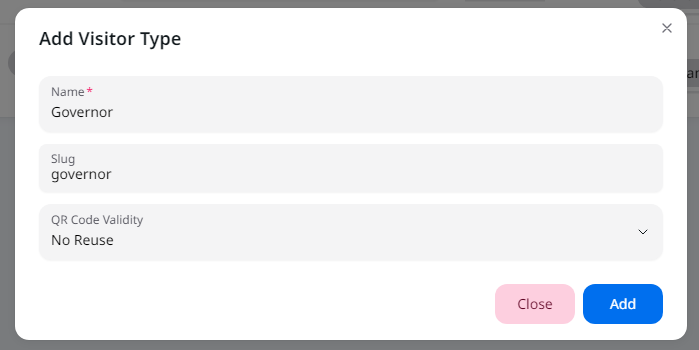
- Click the Add Visitor Type button. The system opens up the Add Visitor Type popup.
- Add a Visitor Type Name. Keep it short and simple as it will appear on the VisitorBook app!
- Ignore the Slug field. One is created automatically as you type the Name.
- Select an option for QR Code Validity from the dropdown. This will set how many times the visitor can use the QR code on the printed visitor label to sign in again. Options range from No Reuse to Permanent use.
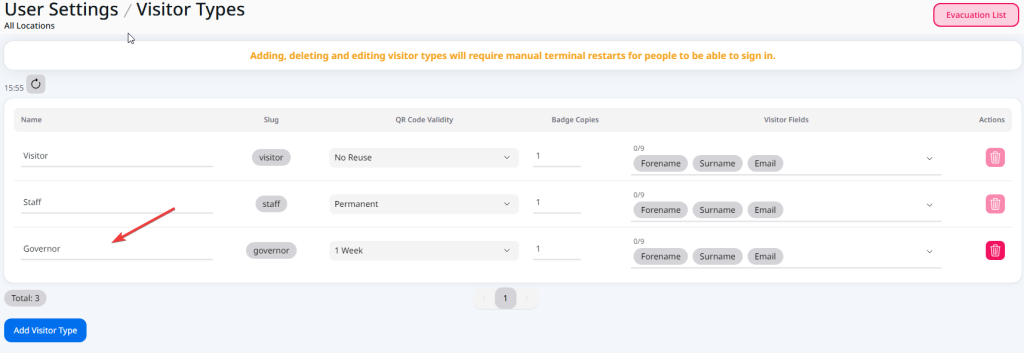
- Click the Add button. The new visitor type is created and appears on the list.
Tips:
- Name is the only essential field you’ll need to complete at this time. However, we recommend you also set the QR Code validity too.
- Avoid setting too many visitor types as this will clutter the sign-in page visitors see on the VisitorBook app.
- You can now adjust QR code validity for individual people regardless of visitor type.
Learn more: Adjust QR codes for individual people
Restart VisitorBook app #
The app needs to be re-started for the new visitor type to correctly display.
- On the sign-in terminal, close the app down and re-open it.
- Click Arriving and check that the new visitor type appears on the New Visitor sign-in page.
Important: You’ll need to take these steps for all terminals connected to your VisitorBook system.
© Libresoft 2026