Need to loan items to people visiting your site, such as safety or event equipment? The optional Assets module helps you keep track of valuable items.
Activate the Assets module #
The Assets module module is an optional paid add-on. The status of the module is shown on the System Settings > General page. It is shown as Active if it is available on your VisitorBook system.
You may have purchased this module at the same time you purchased your basic subscription. If you would like to activate this module during your subscription, please get in touch at support@libresoft.co.uk.
Quick glance at the Assets module #
The image below shows how VisitorBook is used to loan assets to visitors. Each step is described in more detail in the sections below.
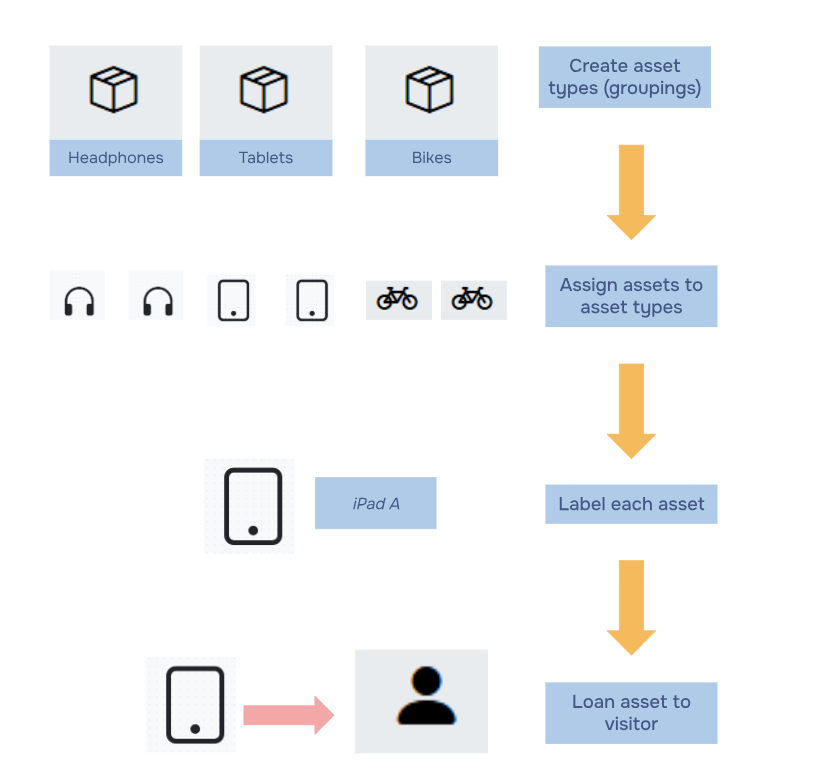
Create asset types #
The first step is to create asset types. Think of these as groups of assets.
- In the System Settings menu, click on Asset Types. This opens up the Asset Types page.
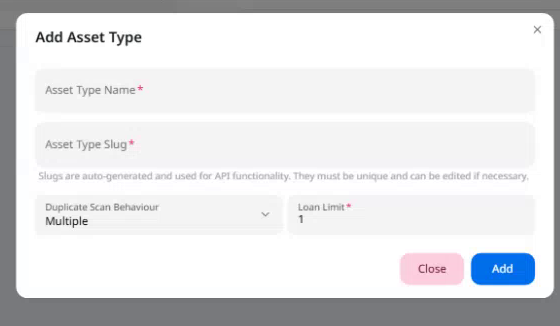
- Click the Add Asset Type button to add a new asset type. The system opens up the Add Asset Type popup.
- Add a name for the asset type or group. This is an essential field and automatically populates the slug field.
- Adjust optional fields if you wish. These include:
- Duplicate scan behaviour – this setting provides options for how you can scan asset labels when they are being loaned. For example, Multiple will allow you to quickly loan individual assets to different visitors in one session.
- Loan limit – the number of items of that asset type each individual visitor can have at one time.
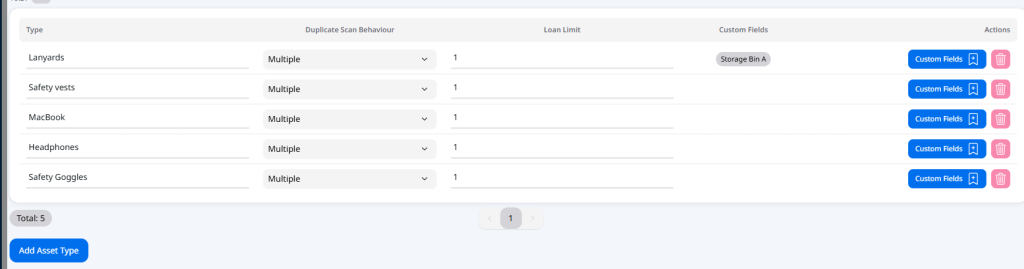
- Click the Add button. The new asset type will be listed on the page.
Note: Settings added at this stage apply to the asset type and will automatically apply to all individual assets assigned to that type. It is not possible to customise settings for individual assets.

Adjust custom fields #
Custom fields are optional fields that will appear on asset labels when they are printed. These might be helpful if you need to provide more information about an asset, such as its particular location. In the example below, the receptionist added a custom field of Storage Bin A to indicate the location of lanyards in the hope the lanyards will be returned to the correct place!

Click the Custom Fields button in the Action column to get started with adding custom fields.
Important: Custom fields are part of the Custom Fields module. This is an optional module that is included in your VisitorBook subscription at no additional cost.
Tip: There is limited space on asset labels, so keep this in mind when adding custom fields for assets. Only add fields that are really needed.
Learn more: Custom Fields Module Overview
Assign assets to asset types #
Once your asset types are set up, you can add individual assets, such as lanyards or safety vests, to the grouping.
To add assets:
- Go to the Assets menu and select Browse. The system opens up the Assets page on which all created asset types are listed.
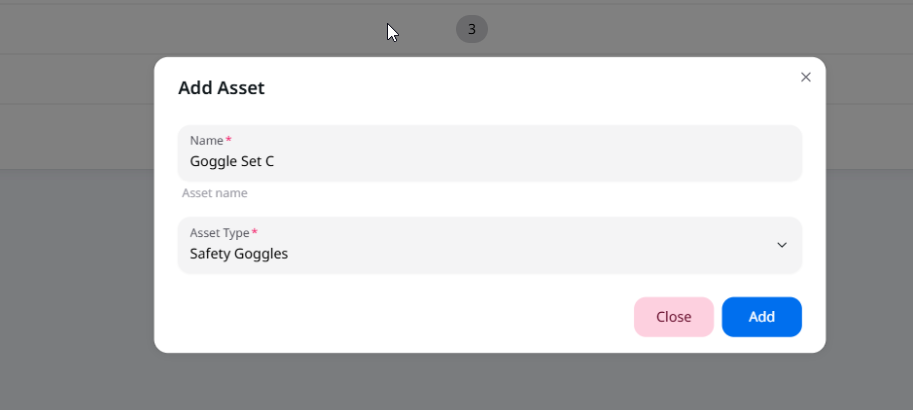
- Click the Add Asset button. You’ll see the Add Asset popup.
- Name the asset and assign it to an Asset Type. Click the Add button when you are done.
- Once added, the Number of Assets column indicates the total assets within each asset type. Further details can be seen by clicking the View icon in the Action column.
Tip: The Asset Type dropdown on the Assets page popup will always display the asset types in the order they appear on the page. This may not be too helpful if you’re adding lots of assets of a particular type (and that type is not the first listed!). To speed things up, first click on the View icon to take you through to the page for that specific asset type. Then use the Add Asset button on that page – the correct asset type will be automatically selected.

Label assets #
If you want to loan assets, you’ll need to assign them a unique QR code. These are printed on asset labels.
Important: To print labels you will need to use the VisitorBook app on a staff terminal. You’ll also need to have connected that specific terminal to a label printer.
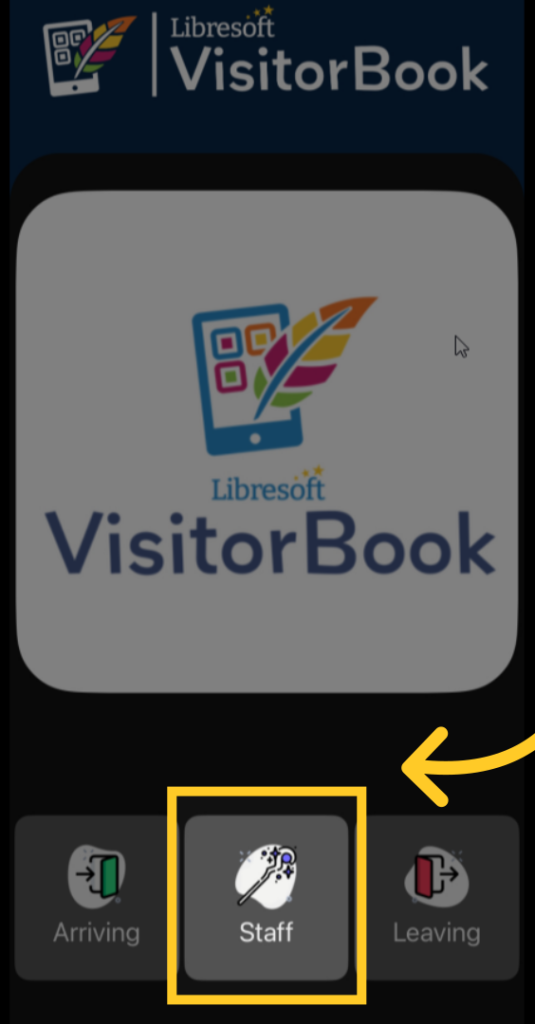
- On the VisitorBook app, tap Staff.
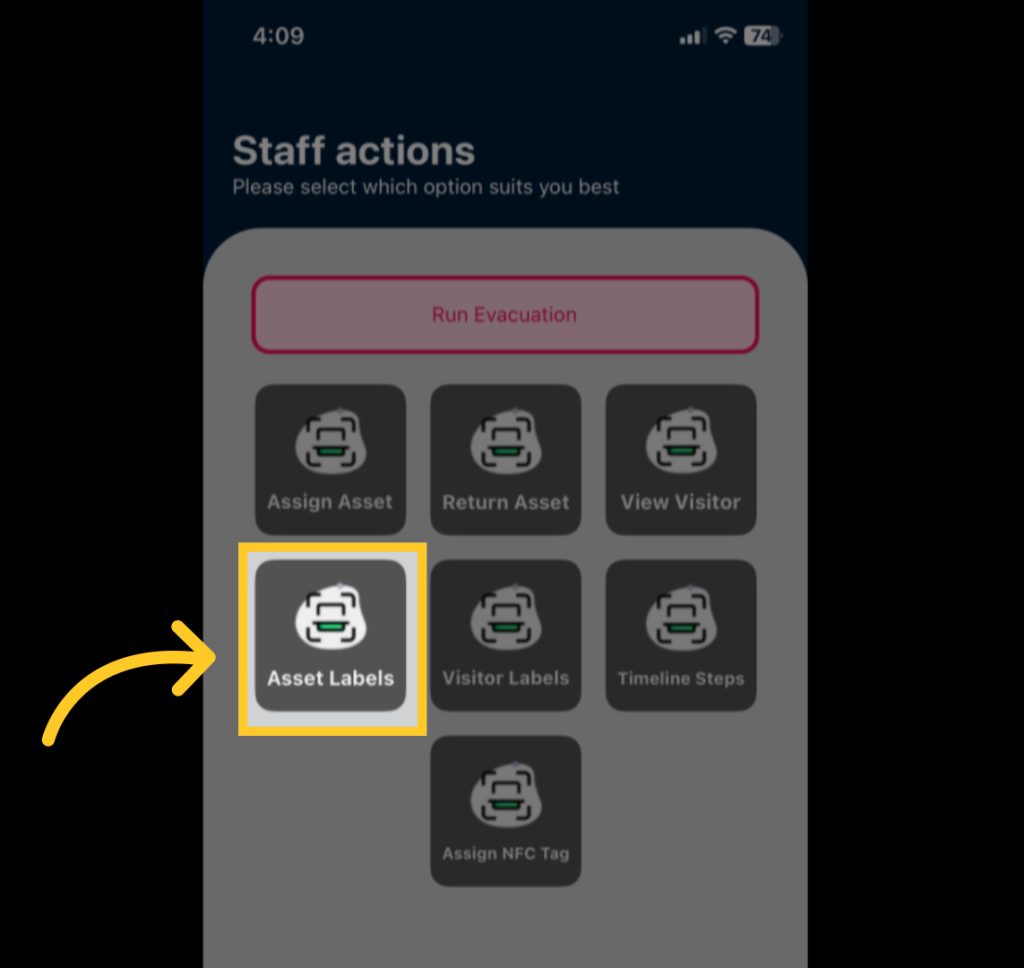
- Tap Asset Labels.
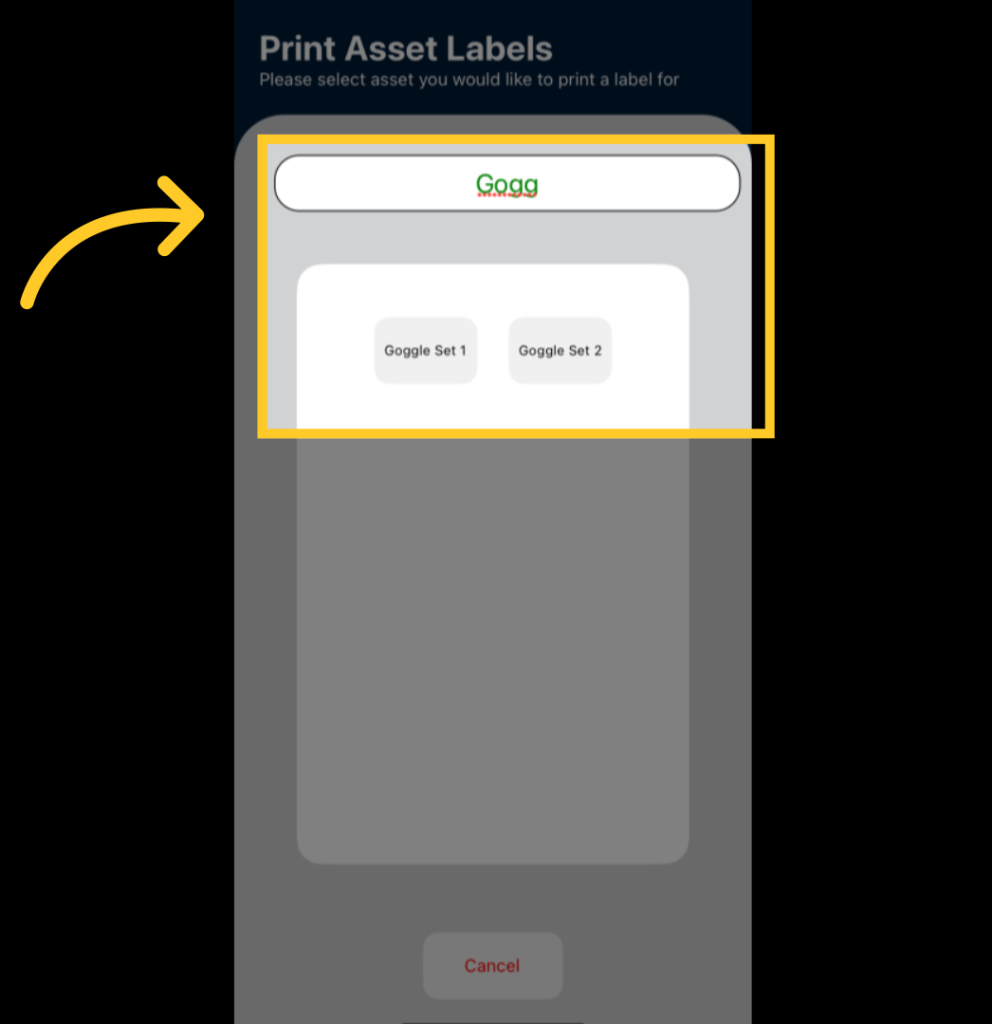
- Search for the asset and select the one for which you want to print a label. Tap on it to print the label.
Tip: If it’s not practical to stick the labels to assets, you can keep them somewhere else, such as a folder. If you do this, you’ll need to be careful to scan the correct label when it’s time to loan assets. Be mindful of which QR code your device camera is picking up!
Learn more: What is a staff terminal?
Loan assets to visitors #
Loaning assets is again managed through the VisitorBook app on a staff terminal.
To loan an asset to a visitor:
- On the VisitorBook app, tap Staff.
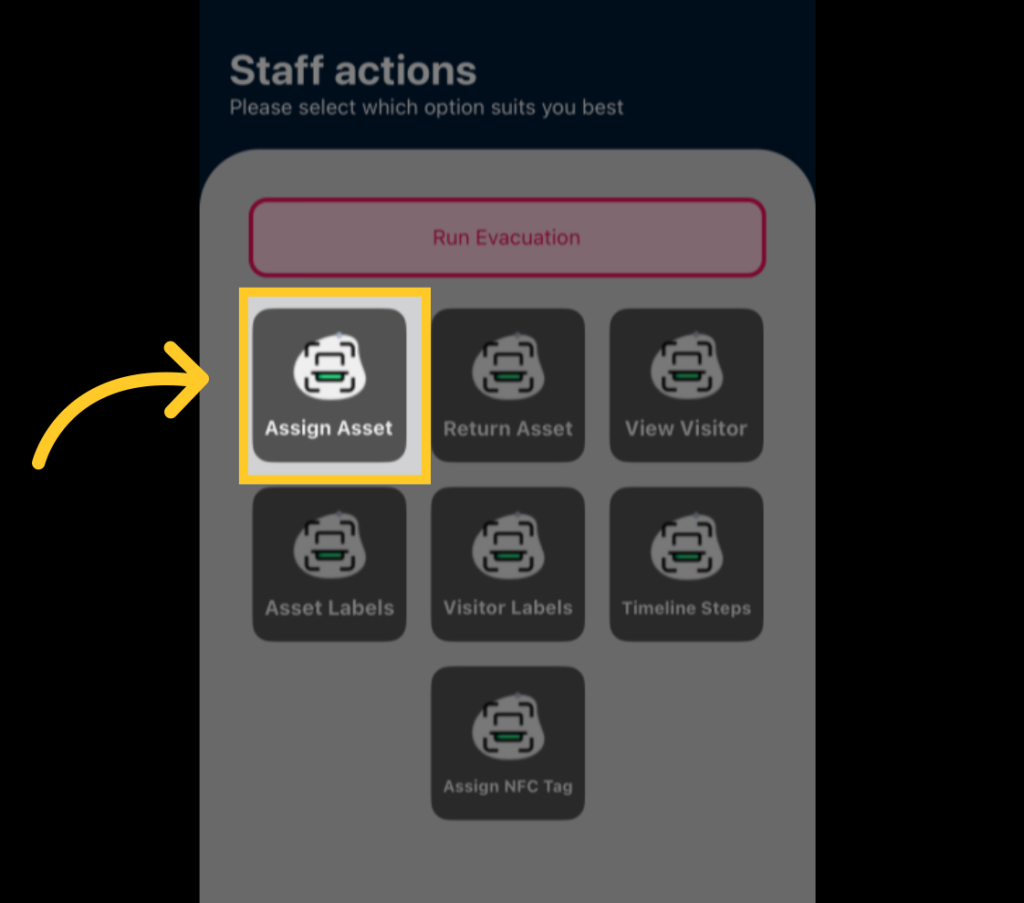
- Tap Assign Asset.
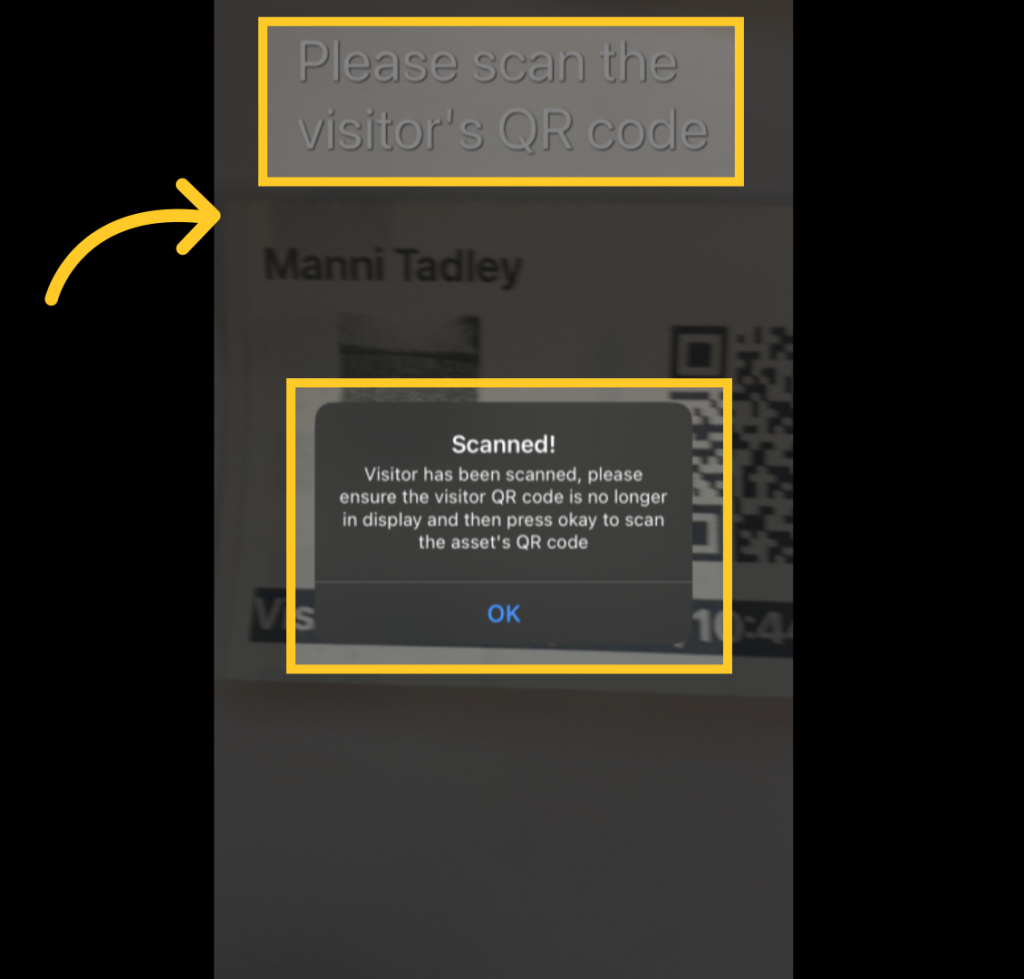
- Scan the visitor’s QR code (the one on their visitor label).
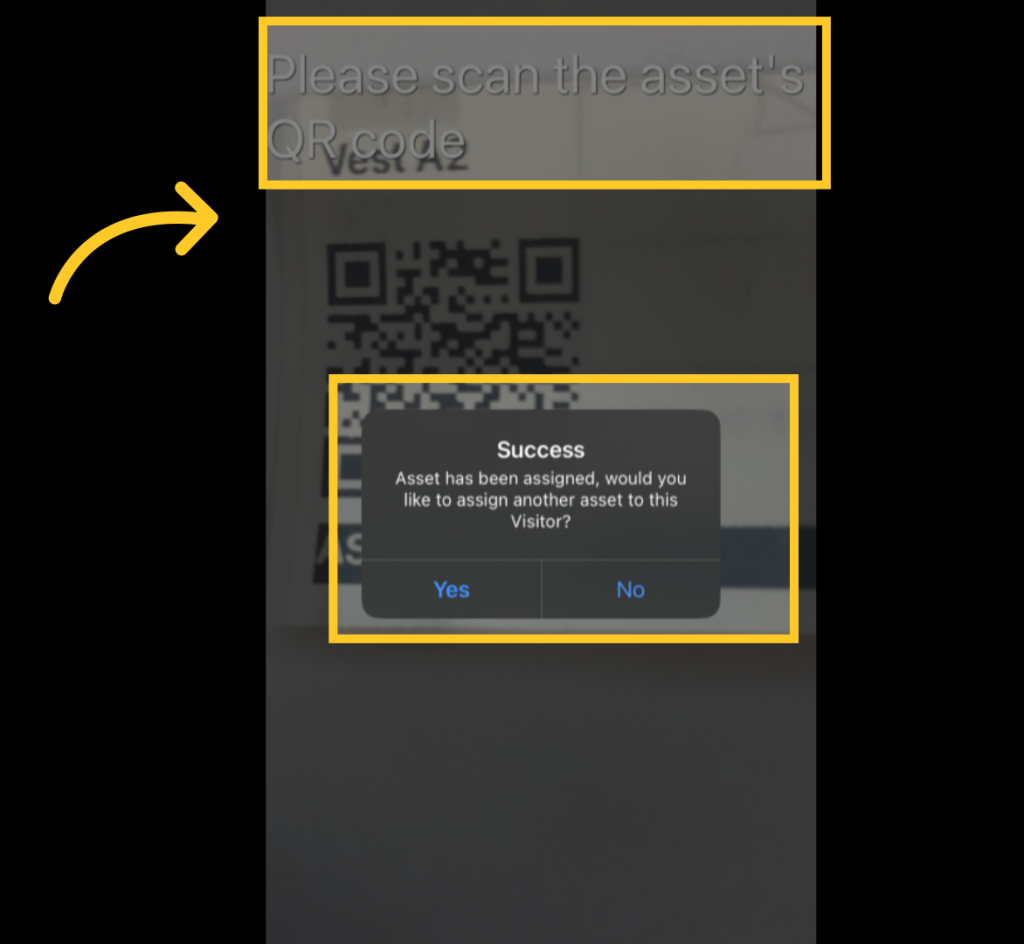
- Scan the asset’s QR code.
- That’s it! The asset is on loan.
Tip: Be careful to scan the correct label at the correct time to avoid the device camera from picking up the wrong QR code.
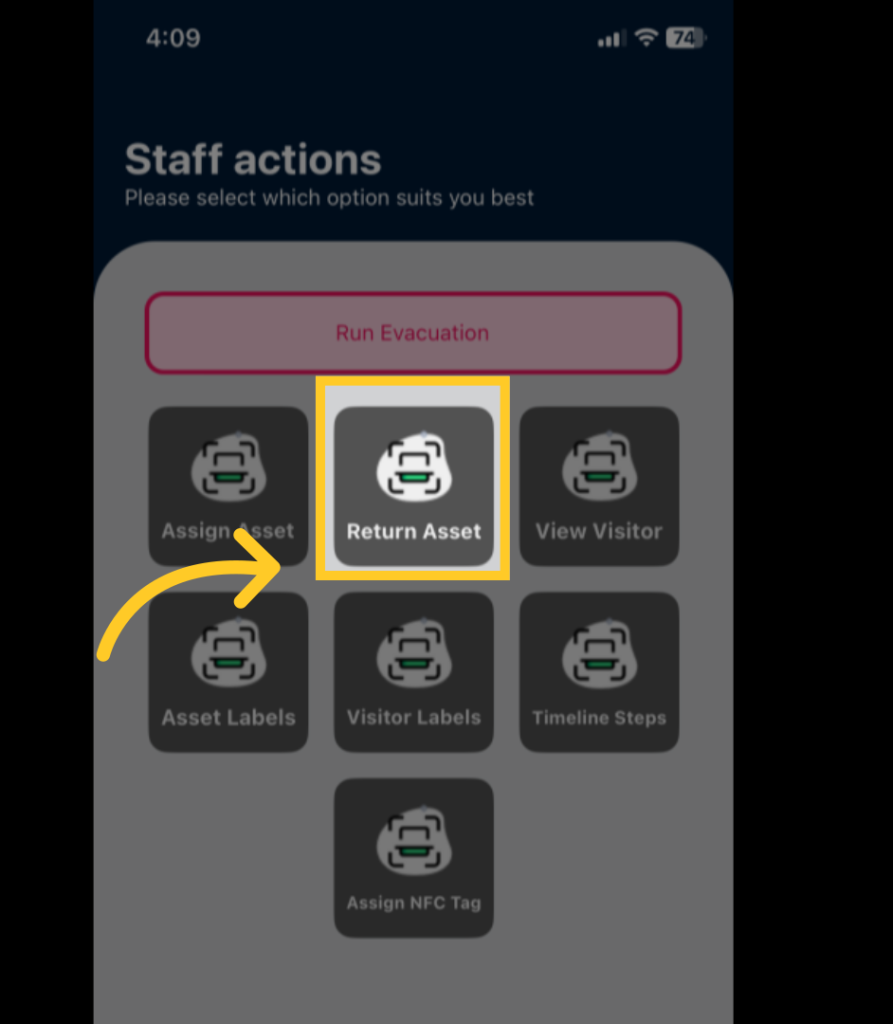
To return an asset from loan:
- On the VisitorBook app, tap Staff.
- Tap Return Asset.
- Scan the asset’s QR code.
- The asset is returned from loan.
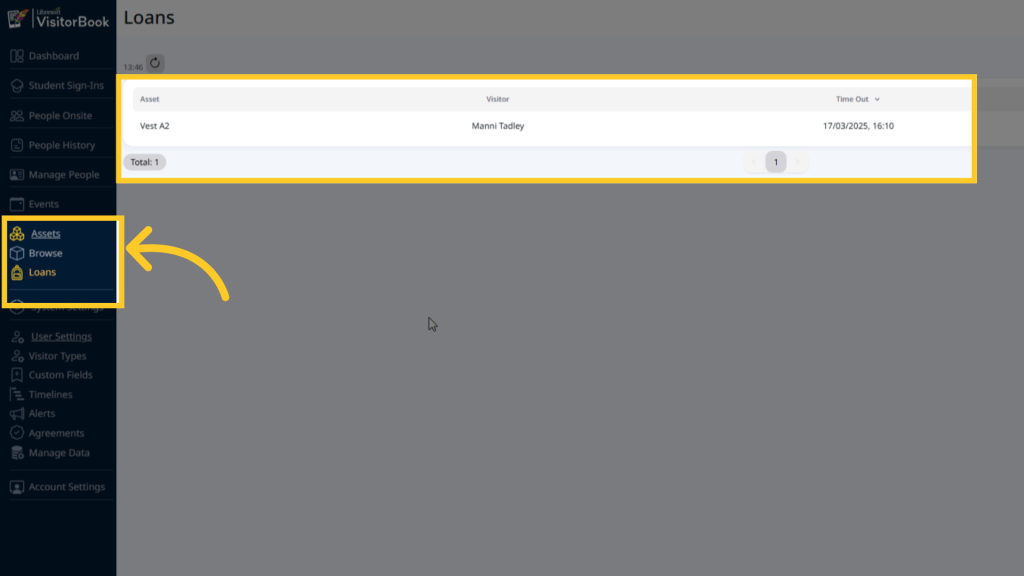
View loans #
View which assets are currently on loan to which people back on the Admin Portal. In the Assets menu, click on Loans to see this info. The system will display current loans.
You can view current and past loan activity in multiple locations on the Admin Portal. These include:
- The People Onsite, People History and Manage People pages.
- The Assets page – click on the View icon on the Asset Type and then the View icon again on an individual asset to see its loan history.
View and edit assets #
- Click on Assets > Browse to view all available asset types in the system.
- In the Action column, click on the View icon to display the assets within an asset type.
- From this detailed page, you can view an asset’s name, loan status and loan history (via the View icon).
- You can rename assets, delete assets (via the Bin icon), or add assets on this page.
Important: Be careful with adjusting details here, particularly if you have already labelled the physical assets. For example, if you adjust the asset name on the Admin Portal but don’t relabel the asset itself, confusion may result!

Asset types can be edited (name only) or deleted from System Settings > Asset Types.
Important: You will not be able to delete asset types from the system if there are individual assets still assigned to that type.
© Libresoft 2025