Manage events with ease from the Admin Portal.
NEW! We’ve made it easier to add events. Event reference numbers will now be auto-generated unless you choose otherwise.
The table below describes the steps to create an event.
| Step | System action | Notes |
| Log into your Visitor Book Admin Portal. | ||
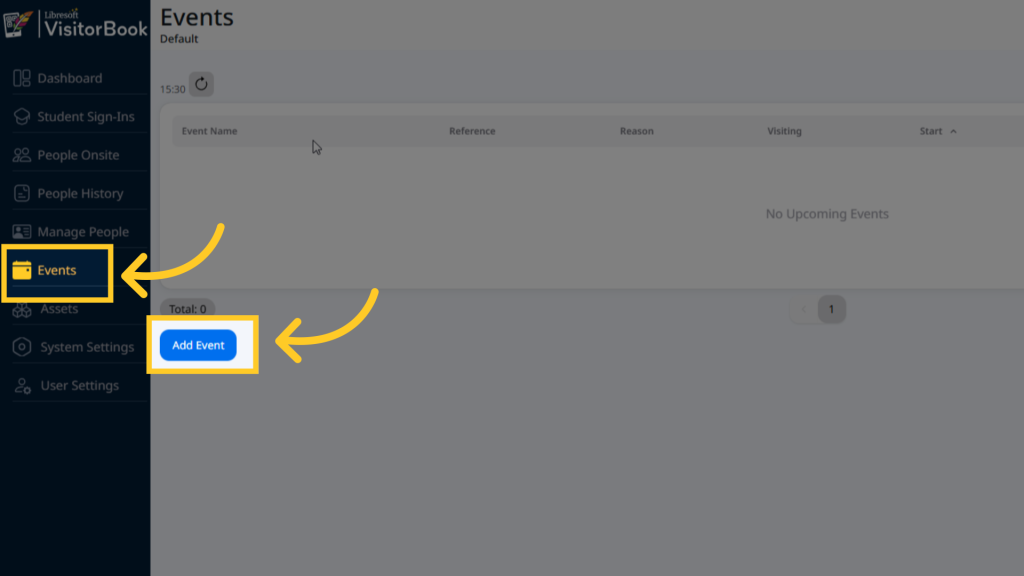
| Go to Events in the menu. | The system opens up the Events page. | |
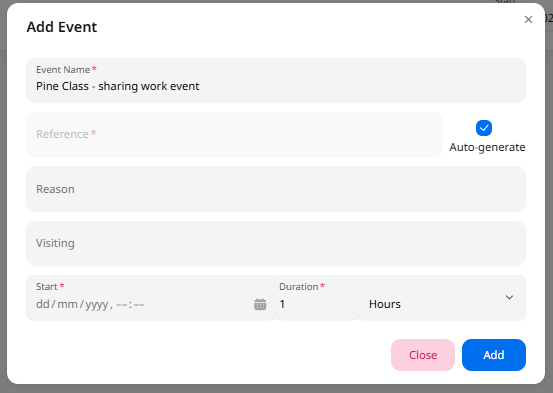
| Click the Add Event button. | The system opens up the Add Event popup. | |
| Add an event name. | This is an essential field. | |
| Ensure a reference will be added. | A reference will be auto-generated unless you untick the Auto-generate option. | A reference is an essential field. It is a unique number or label that VisitorBook uses to track the event behind the scenes. If needed, it can also be shared with attendees to use to sign in (although a QR code may be better!) If you choose to add your own reference number, the reference must be unique and at least five characters in length. |
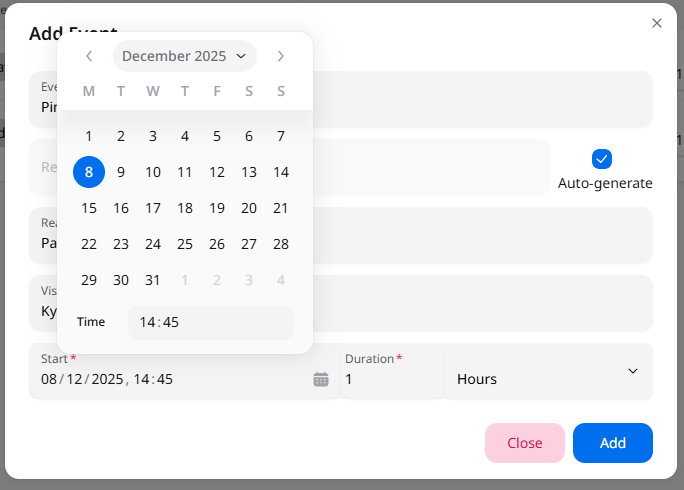
| Select a date and time for the event using the Calendar icon in the Start field. | ||
| Set the Duration Type (hours or minutes) and the Duration (based on the set Duration Type). | ||
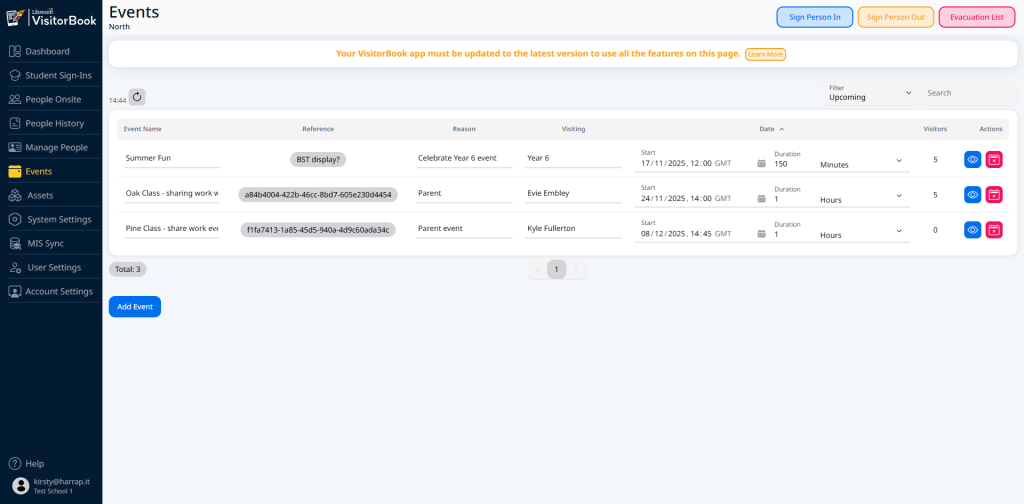
| Finally, click the Add button. | Success! Your event is created and appears in the list of events. | Clicking Add is an essential step. Don’t close or click away from the Add Event popup without doing this! |
The next step is to add some event guests!
Learn more: View and edit visitors for an event
© Libresoft 2026