NEW! Customise your welcome and farewell emails to suit your needs.
Tip: Not sure how welcome/farewell emails work? If you haven’t already, check out our Overview guide.
Learn more: Welcome/farewell emails overview
The first step is to set up your welcome/farewell email. You have three options here.
Option 1: Use the default Email template #
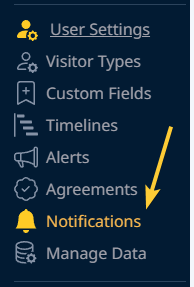
- Go to User Settings > Notifications.
- Go to Email Templates.
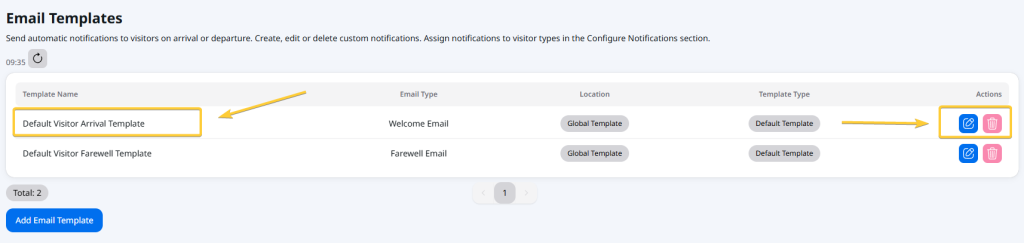
- The default welcome email is called Default Visitor Arrival Template. The default farewell template is called Default Visitor Farewell Template. Click on the Pencil icon to view the email content.
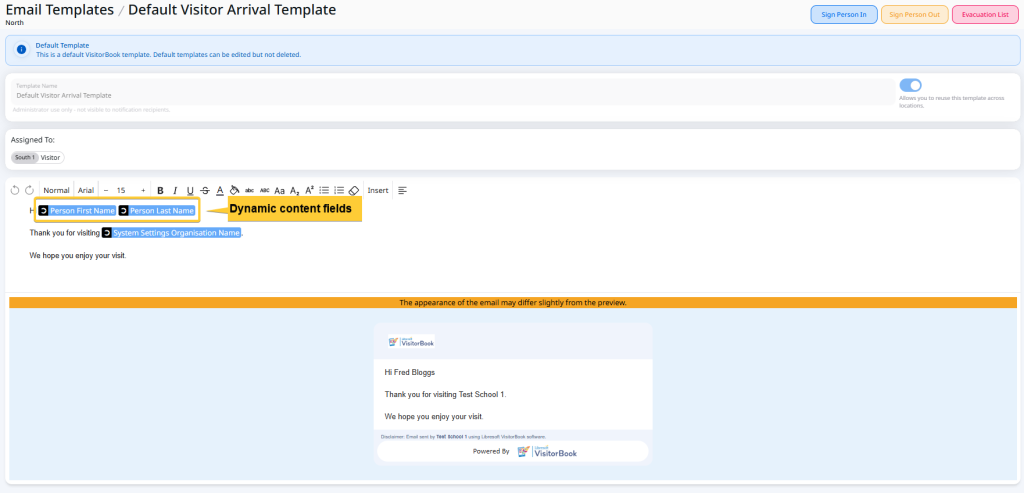
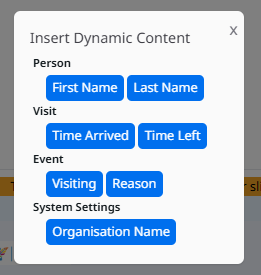
Tip: The default emails are set up to use dynamic content. These are auto-populated fields like the visitor’s name and your organisation.
Note: You cannot delete the default templates.
Option 2: Customise the default welcome/farewell email #
- Go to User Settings > Notifications.
- Go to Email Templates.
- Click on the Pencil icon next to the template you’d like to customise.
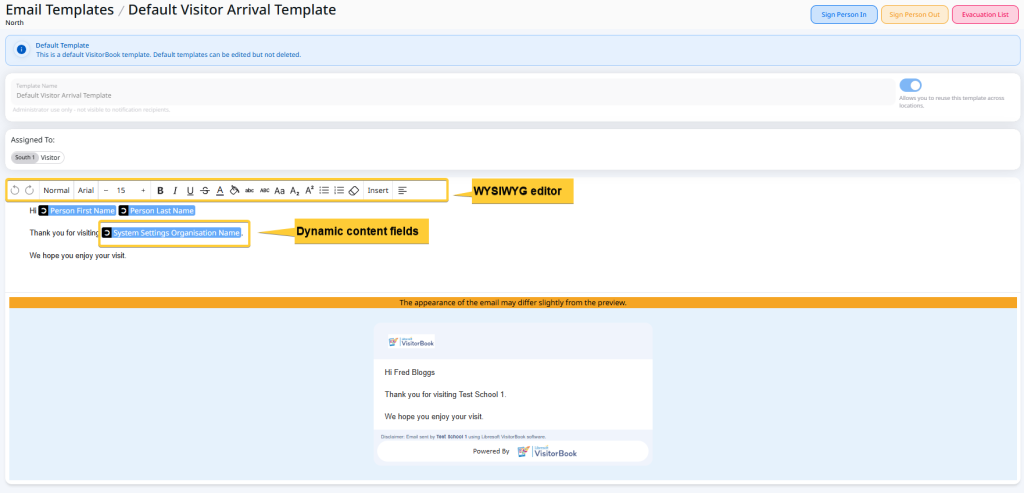
- Edit the default email using the What You See IS What You Get (WYSIWYG) editor. Edits are made as you type.
Tip: The WYSIWYG editor allows you to insert dynamic content into your email notification. These are auto-populated fields. They are based on fields visitors complete on signing in and your system settings.
Tip: An email preview is shown at the bottom of the page.
Option 3: Create a new customised welcome/farewell email #
You can create multiple welcome or farewell email templates. This is handy if you’d like different visitor types to see different emails.
To do this:
- Go to User Settings > Notifications.
- Go to Email Templates.
- Click the Add Email Template button.
- Select the email type from the dropdown. Choose between a Welcome Email (sent when visitor signs in) or Farewell Email (sent when visitor signs out).
- The Add Email Template popup opens.
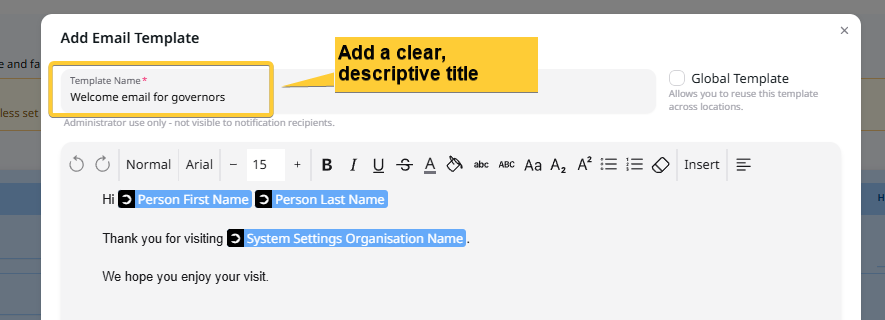
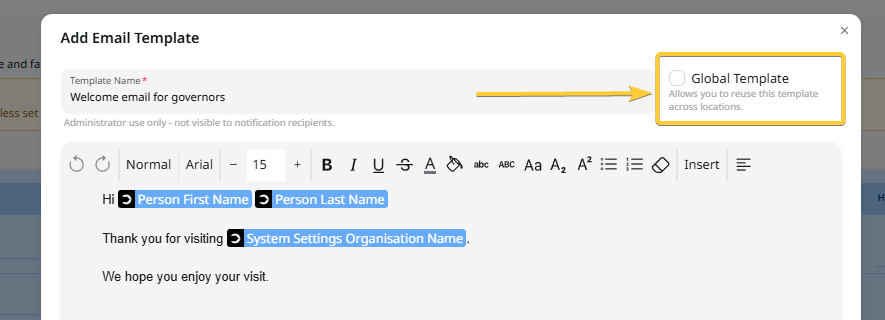
- Give the template a clear and descriptive name.
- Edit the default email to suit your needs using the What You See IS What You Get (WYSIWYG) editor. Edits are made as you type.
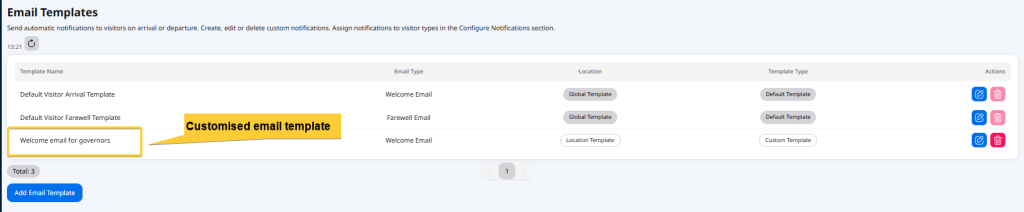
- When you have finished, click the Add button. The template is added to your list of email templates.

Tip: Got the Locations module? If so, custom email templates are set up per location. Tick Global Template on the template to reuse the template across all locations.
What’s next? #
Once your email templates are ready, assign them to visitor types to start sending them! You can also choose to add a Health & Safety PDF document to your welcome emails.
Learn more:
© Libresoft 2026